Airflow and dbt Cloud
Introduction
In some cases, Airflow may be the preferred orchestrator for your organization over working fully within dbt Cloud. There are a few reasons your team might be considering using Airflow to orchestrate your dbt jobs:
- Your team is already using Airflow to orchestrate other processes
- Your team needs to ensure that a dbt job kicks off before or after another process outside of dbt Cloud
- Your team needs flexibility to manage more complex scheduling, such as kicking off one dbt job only after another has completed
- Your team wants to own their own orchestration solution
- You need code to work right now without starting from scratch
Prerequisites
- dbt Cloud Teams or Enterprise account (with admin access) in order to create a service token. Permissions for service tokens can be found here.
- A free Docker account in order to sign in to Docker Desktop, which will be installed in the initial setup.
- A local digital scratchpad for temporarily copy-pasting API keys and URLs
Airflow + dbt Core
There are so many great examples from GitLab through their open source data engineering work. This is especially appropriate if you are well-versed in Kubernetes, CI/CD, and docker task management when building your airflow pipelines. If this is you and your team, you’re in good hands reading through more details here and here.
Airflow + dbt Cloud API w/Custom Scripts
This has served as a bridge until the fabled Astronomer + dbt Labs-built dbt Cloud provider became generally available here.
There are many different permutations of this over time:
- Custom Python Scripts: This is an airflow DAG based on custom python API utilities
- Make API requests directly through the BashOperator based on the docs: You can make cURL requests to invoke dbt Cloud to do what you want
- For more options, check out the official dbt Docs on the various ways teams are running dbt in airflow
These solutions are great, but can be difficult to trust as your team grows and management for things like: testing, job definitions, secrets, and pipelines increase past your team’s capacity. Roles become blurry (or were never clearly defined at the start!). Both data and analytics engineers start digging through custom logging within each other’s workflows to make heads or tails of where and what the issue really is. Not to mention that when the issue is found, it can be even harder to decide on the best path forward for safely implementing fixes. This complex workflow and unclear delineation on process management results in a lot of misunderstandings and wasted time just trying to get the process to work smoothly!
In this guide, you'll learn how to:
- Creating a working local Airflow environment
- Invoking a dbt Cloud job with Airflow (with proof!)
- Reusing tested and trusted Airflow code for your specific use cases
You’ll also gain a better understanding of how this will:
- Reduce the cognitive load when building and maintaining pipelines
- Avoid dependency hell (think:
python -m pip installconflicts) - Implement better recoveries from failures
- Define clearer workflows so that data and analytics engineers work better, together ♥️
🙌 Let’s get started! 🙌
Install the Astro CLI
Astro is a managed software service that includes key features for teams working with Airflow. In order to use Astro, we’ll install the Astro CLI, which will give us access to useful commands for working with Airflow locally. You can read more about Astro here.
In this example, we’re using Homebrew to install Astro CLI. Follow the instructions to install the Astro CLI for your own operating system here.
brew install astro
Install and start Docker Desktop
Docker allows us to spin up an environment with all the apps and dependencies we need for the example.
Follow the instructions here to install Docker desktop for your own operating system. Once Docker is installed, ensure you have it up and running for the next steps.
Clone the airflow-dbt-cloud repository
Open your terminal and clone the airflow-dbt-cloud repository. This contains example Airflow DAGs that you’ll use to orchestrate your dbt Cloud job. Once cloned, navigate into the airflow-dbt-cloud project.
git clone https://github.com/sungchun12/airflow-dbt-cloud.git
cd airflow-dbt-cloud
Start the Docker container
You can initialize an Astronomer project in an empty local directory using a Docker container, and then run your project locally using the start command.
Run the following commands to initialize your project and start your local Airflow deployment:
astro dev init
astro dev start
When this finishes, you should see a message similar to the following:
Airflow is starting up! This might take a few minutes…
Project is running! All components are now available.
Airflow Webserver: http://localhost:8080
Postgres Database: localhost:5432/postgres
The default Airflow UI credentials are: admin:admin
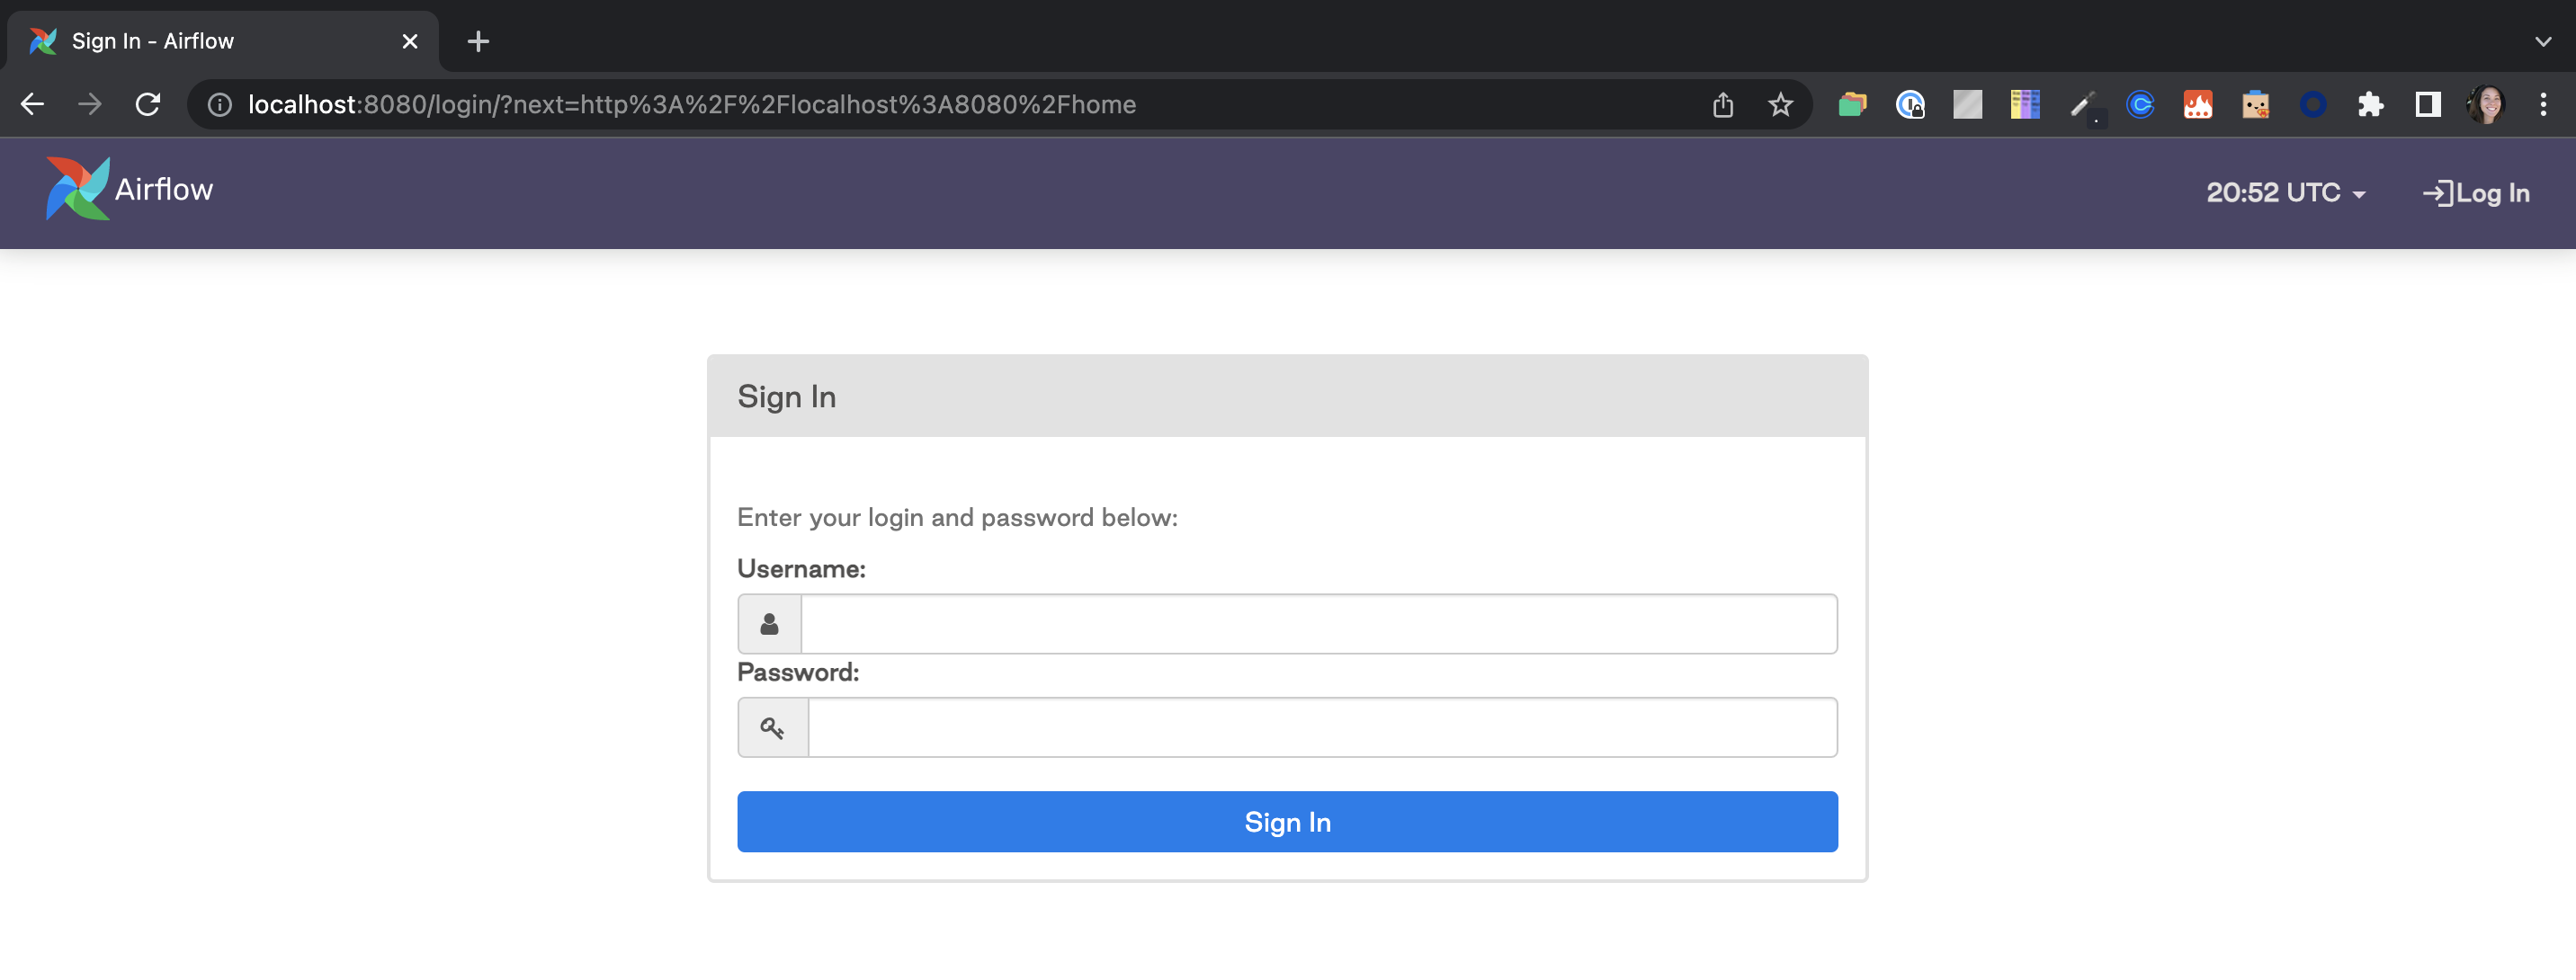
The default Postrgres DB credentials are: postgres:postgresOpen the Airflow interface. Launch your web browser and navigate to the address for the Airflow Webserver from your output in Step 1.
This will take you to your local instance of Airflow. You’ll need to log in with the default credentials:
- Username: admin
- Password: admin
Create a dbt Cloud service token
Create a service token from within dbt Cloud using the instructions found here. Ensure that you save a copy of the token, as you won’t be able to access this later. In this example we use Account Admin, but you can also use Job Admin instead for token permissions.
Create a dbt Cloud job
In your dbt Cloud account create a job, paying special attention to the information in the bullets below. Additional information for creating a dbt Cloud job can be found here.
- Configure the job with the commands that you want to include when this job kicks off, as Airflow will be referring to the job’s configurations for this rather than being explicitly coded in the Airflow DAG. This job will run a set of commands rather than a single command.
- Ensure that the schedule is turned off since we’ll be using Airflow to kick things off.
- Once you hit
saveon the job, make sure you copy the URL and save it for referencing later. The url will look similar to this:
https://cloud.getdbt.com/#/accounts/{account_id}/projects/{project_id}/jobs/{job_id}/
Add your dbt Cloud API token as a secure connection
Now you have all the working pieces to get up and running with Airflow + dbt Cloud. Let’s dive into make this all work together. We will set up a connection and run a DAG in Airflow that kicks off a dbt Cloud job.
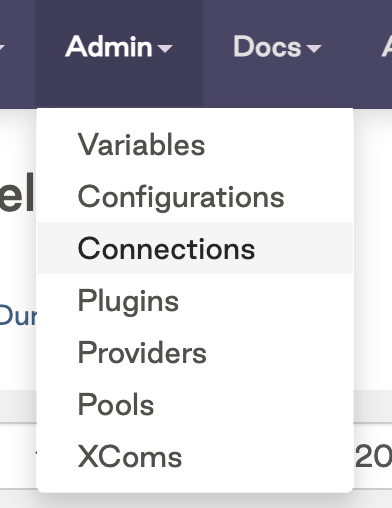
Navigate to Admin and click on Connections
Click on the
+sign to add a new connection, then click on the drop down to search for the dbt Cloud Connection Type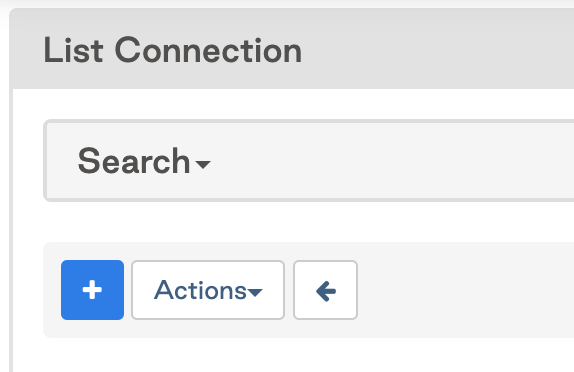
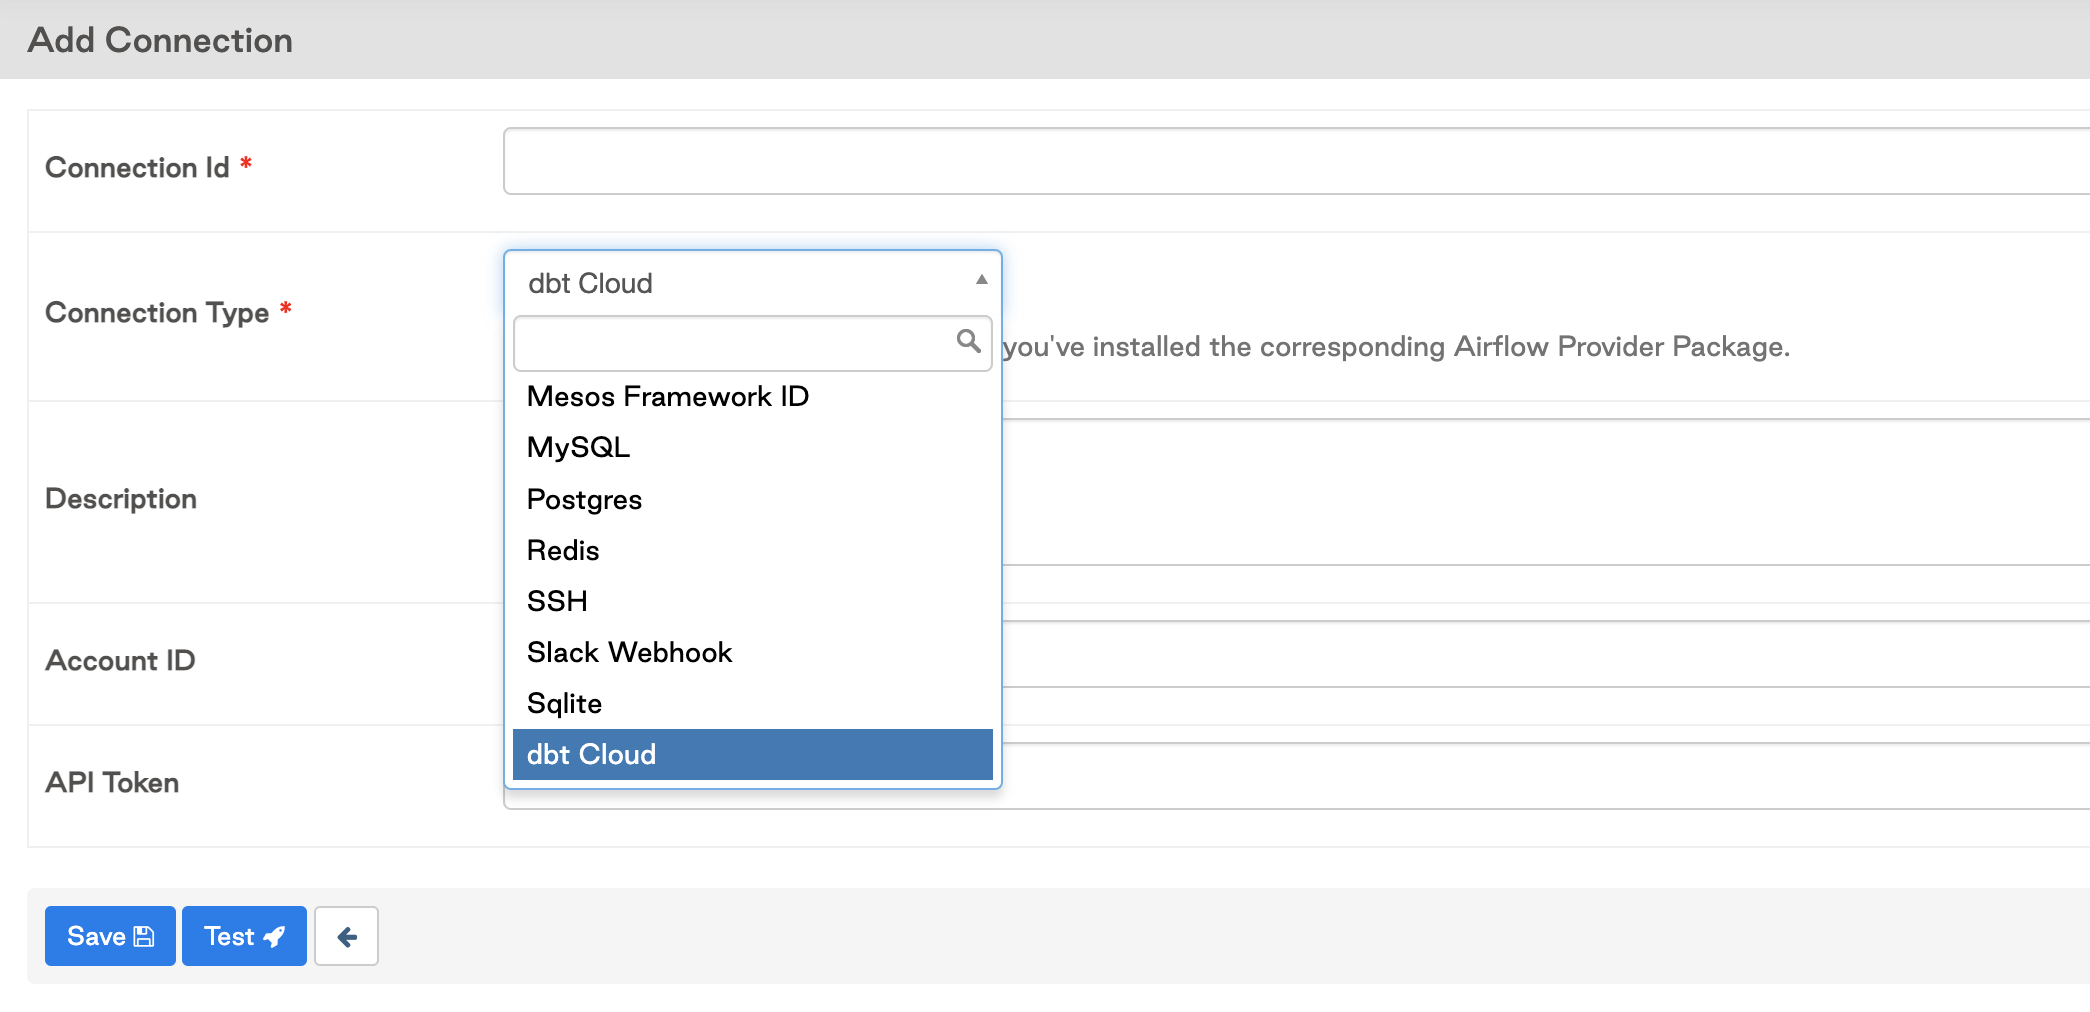
Add in your connection details and your default dbt Cloud account id. This is found in your dbt Cloud URL after the accounts route section (
/accounts/{YOUR_ACCOUNT_ID}), for example the account with id 16173 would see this in their URL:https://cloud.getdbt.com/#/accounts/16173/projects/36467/jobs/65767/

Add your job_id and account_id config details to the python file
Add your job_id and account_id config details to the python file: dbt_cloud_provider_eltml.py.
You’ll find these details within the dbt Cloud job URL, see the comments in the code snippet below for an example.
# dbt Cloud Job URL: https://cloud.getdbt.com/#/accounts/16173/projects/36467/jobs/65767/
# account_id: 16173
#job_id: 65767

# line 28
default_args={"dbt_cloud_conn_id": "dbt_cloud", "account_id": 16173},

trigger_dbt_cloud_job_run = DbtCloudRunJobOperator(
        task_id="trigger_dbt_cloud_job_run",
        job_id=65767, # line 39
        check_interval=10,
        timeout=300,
    )
Turn on the DAG and verify the job succeeded after running. Note: screenshots taken from different job runs, but the user experience is consistent.


How do I rerun the dbt Cloud job and downstream tasks in my pipeline?
If you have worked with dbt Cloud before, you have likely encountered cases where a job fails. In those cases, you have likely logged into dbt Cloud, investigated the error, and then manually restarted the job.
This section of the guide will show you how to restart the job directly from Airflow. This will specifically run just the trigger_dbt_cloud_job_run and downstream tasks of the Airflow DAG and not the entire DAG. If only the transformation step fails, you don’t need to re-run the extract and load processes. Let’s jump into how to do that in Airflow.
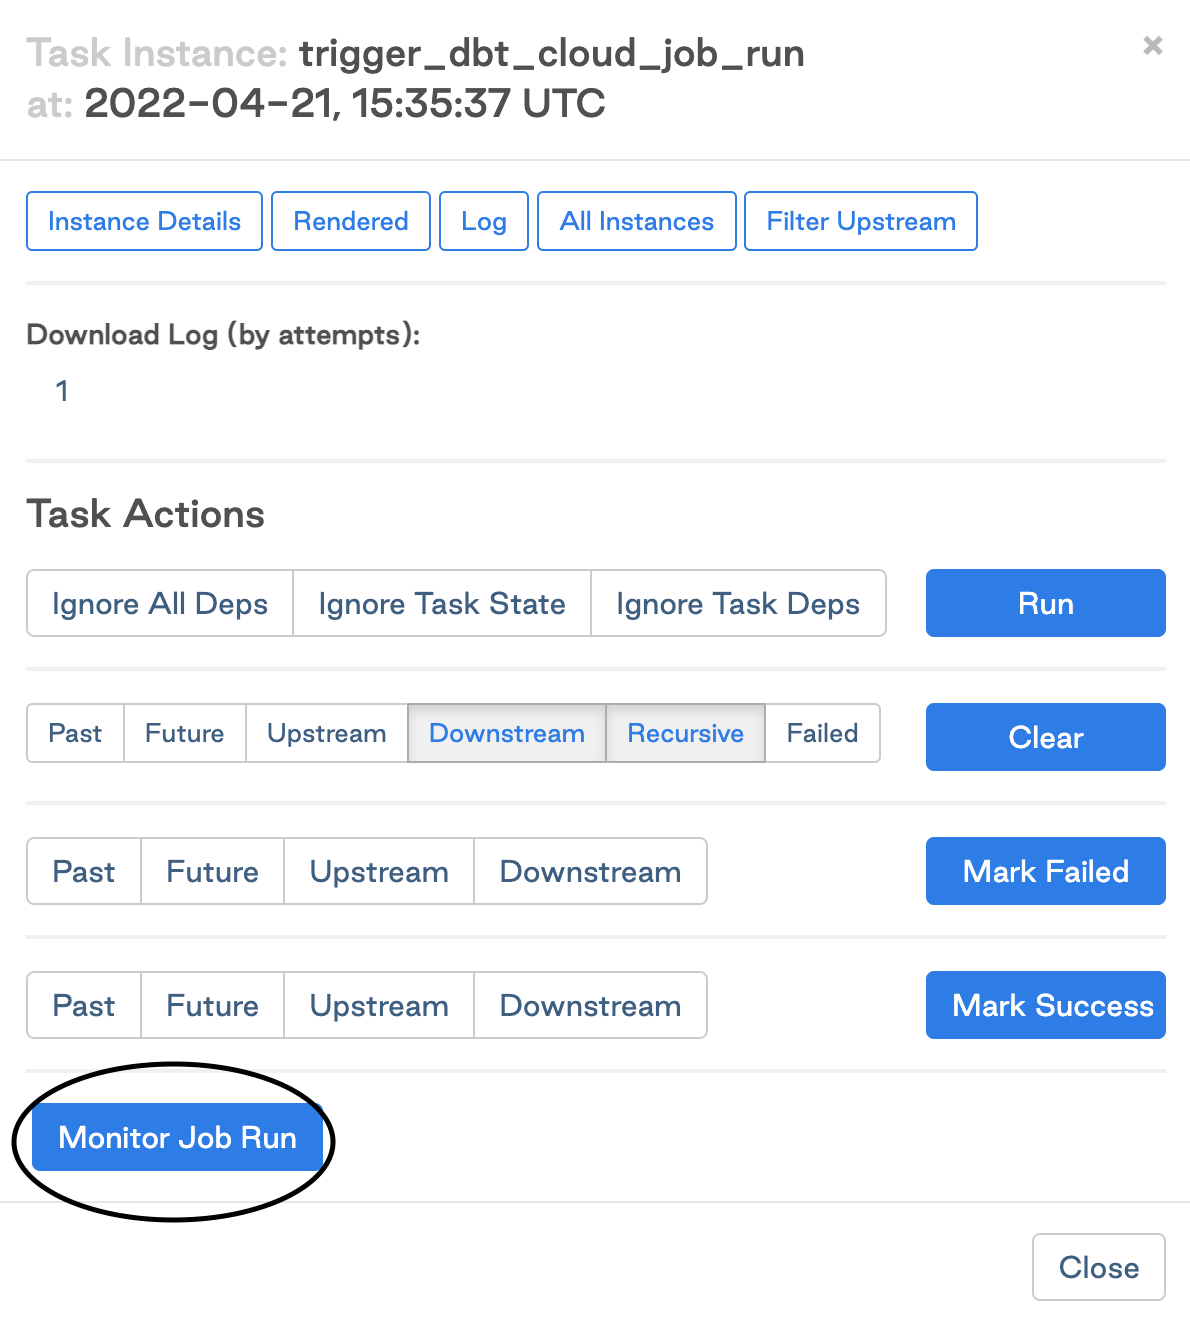
Click on the task

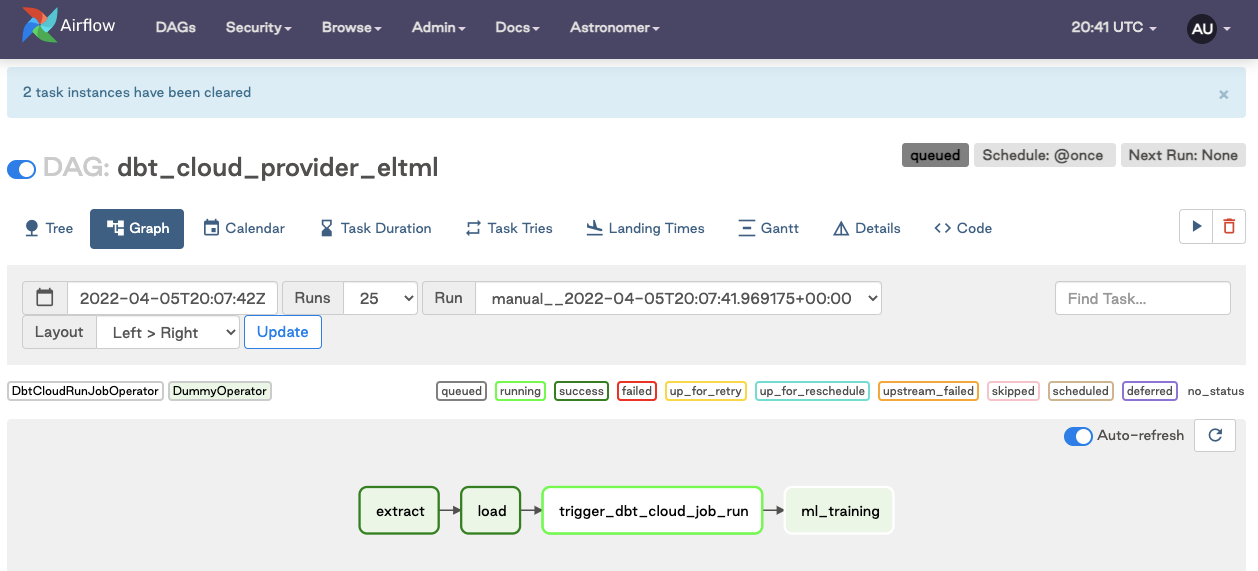
Clear the task instance
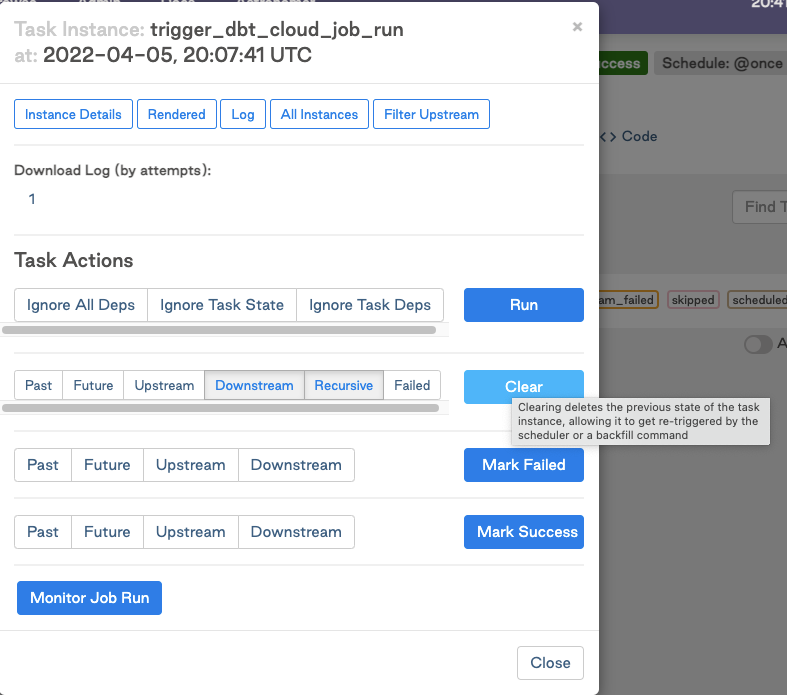
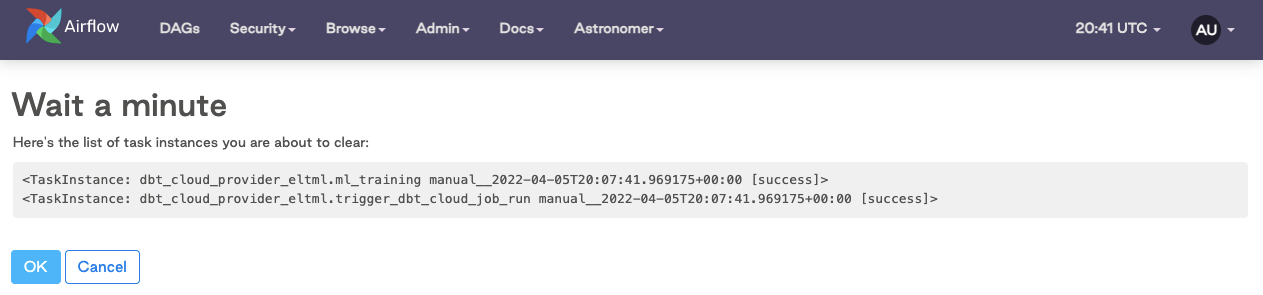
Watch it rerun in real time
Cleaning up
At the end of this guide, make sure you shut down your docker container. When you’re done using Airflow, use the following command to stop the container:
$ astrocloud dev stop

[+] Running 3/3
 ⠿ Container airflow-dbt-cloud_e3fe3c-webserver-1  Stopped                                                                                   7.5s
 ⠿ Container airflow-dbt-cloud_e3fe3c-scheduler-1  Stopped                                                                                   3.3s
 ⠿ Container airflow-dbt-cloud_e3fe3c-postgres-1   Stopped                                                                                   0.3s
To verify that the deployment has stopped, use the following command:
astrocloud dev ps
This should give you an output like this:
Name                                    State   Ports
airflow-dbt-cloud_e3fe3c-webserver-1    exited
airflow-dbt-cloud_e3fe3c-scheduler-1    exited
airflow-dbt-cloud_e3fe3c-postgres-1     exited
Frequently asked questions
How can we run specific subsections of the dbt DAG in Airflow?
Because of the way we configured the dbt Cloud job to run in Airflow, you can leave this job to your analytics engineers to define in the job configurations from dbt Cloud. If, for example, we need to run hourly-tagged models every hour and daily-tagged models daily, we can create jobs like Hourly Run or Daily Run and utilize the commands dbt run -s tag:hourly and dbt run -s tag:daily within each, respectively. We only need to grab our dbt Cloud account and job id, configure it in an Airflow DAG with the code provided, and then we can be on your way. See more node selection options: here
How can I re-run models from the point of failure?
You may want to parse the dbt DAG in Airflow to get the benefit of re-running from the point of failure. However, when you have hundreds of models in your DAG expanded out, it becomes useless for diagnosis and rerunning due to the overhead that comes along with creating an expansive Airflow DAG.
You can’t re-run from failure natively in dbt Cloud today (feature coming!), but you can use a custom rerun parser.
Using a simple python script coupled with the dbt Cloud provider, you can:
- Avoid managing artifacts in a separate storage bucket(dbt Cloud does this for you)
- Avoid building your own parsing logic
- Get clear logs on what models you're rerunning in dbt Cloud (without hard coding step override commands)
Watch the video below to see how it works!
Should Airflow run one big dbt job or many dbt jobs?
Overall we recommend being as purposeful and minimalistic as you can. This is because dbt manages all of the dependencies between models and the orchestration of running those dependencies in order, which in turn has benefits in terms of warehouse processing efforts.
We want to kick off our dbt jobs after our ingestion tool (such as Fivetran) / data pipelines are done loading data. Any best practices around that?
Our friends at Astronomer answer this question with this example: here
How do you set up a CI/CD workflow with Airflow?
Check out these two resources for accomplishing your own CI/CD pipeline:
Can dbt dynamically create tasks in the DAG like Airflow can?
We prefer to keep models bundled vs. unbundled. You can go this route, but if you have hundreds of dbt models, it’s more effective to let the dbt Cloud job handle the models and dependencies. Bundling provides the solution to clear observability when things go wrong - we've seen more success in having the ability to clearly see issues in a bundled dbt Cloud job than combing through the nodes of an expansive Airflow DAG. If you still have a use case for this level of control though, our friends at Astronomer answer this question here!
Can you trigger notifications if a dbt job fails with Airflow? Is there any way to access the status of the dbt Job to do that?
Yes, either through Airflow's email/slack functionality by itself or combined with dbt Cloud's notifications, which support email and slack notifications.
Are there decision criteria for how to best work with dbt Cloud and airflow?
Check out this deep dive into planning your dbt Cloud + Airflow implementation here!